
This post contains affiliate links.
I have been very eager to share these pictures with you. This project made an immense impact in our kitchen -both in visual appeal and in added storage space. These shelves are a grand milestone for our family. They mark the path where we crossed over from "building a kitchen" to "having a kitchen".
With all the mess and chaos of remodeling, I lost sight of my vision for a while. My dream of a cozy country kitchen was a faint memory as I walked across bare floor joists, just yearning for a place to boil water. Decorative whims really take a backseat in such a time of desperation (read about our "indoor camping adventure here). So, when the floor was finally finished and it came time to piece the room back together, I wasn't in a particularly creative mood. It was a mad dash of measurements, logistics, and prayer.
For a few weeks we were so pleased to have a place to chop, simmer, sauté, bake, and broil (praise the Lord!), we hardly noticed what a bland space I had concocted.

Although we adore the functionality of the kitchen, it needed the warmth of color, the charm of personal touches, and more storage! So, I skimmed through google images to find a starting off point then sketched some ideas for my husband. Before I knew it, he came back from the shop with these:

It's a little hard to envision at this point, but trust me, these simple *rustic* brackets could be your best friend. You could stain them, paint them, distress them....you could alter them for a chunkier or more slender profile...or you could ask your husband to miter the edges so they look like this....

That's what I did...and I LOVE THEM.
This project was so simple. We are hoping to use this process to add shelving in several rooms in the house (once we get that far down on the To-Do list), namely the bathrooms, the craft room, and possibly the dining room. So simple and versatile! And cheap - yay for cheap!
My husband collected all the leftover bits and pieces he had laying around in the shop to build the brackets and we just used pine deck board (at $ .70 a board foot) from our local lumber yard for the shelves. We definitely came in under $50 for the whole project.
If you're looking for a supply list, here's a rough estimate of the project supplies for (3) 72" shelves:
(2) 2'x2'x8's -for the "L" shaped pieces.
(1) 1'x3'x8' -for the angled pieces.
(18) 1.75" screws - to attach the corner of the "L"
(36) 1.5" finish nails -to attach the angled sections
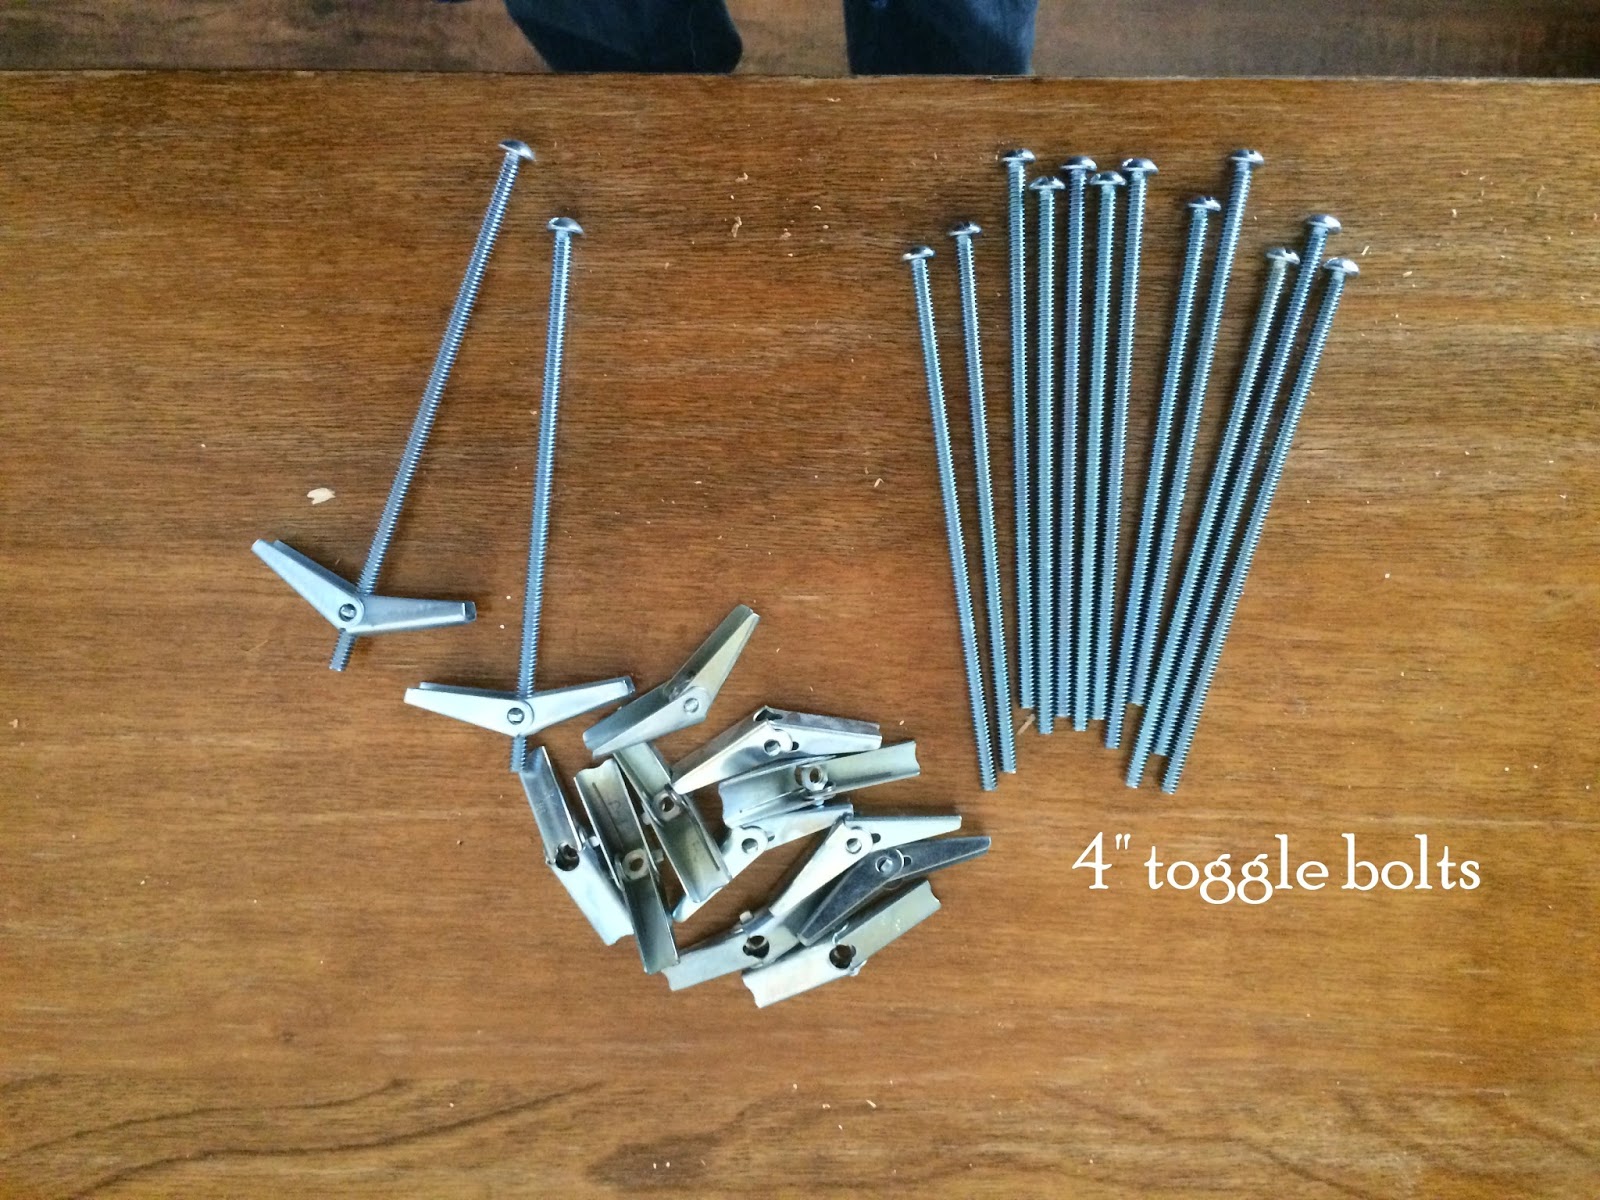
(18) 4" toggle bolts -to attach brackets to the wall (unless your brackets line up on studs)
(3) 1'x12'x6' boards - for the shelves
hammer
drill
Kreg Jig (optional)
And here's how the project went (I forgot to take pictures on steps 1-4 - sorry!):
Step 1: Cut all your bracket pieces to the dimensions of your shelf (sizes vary by project)
Step 2: Assemble "L" brackets
Step 3: Hold angled bar in place on your "L" and predrill holes for your nails.
Step 4: Remove angled bars and keep aside.
Step 5: Measure your wall to find the location of your brackets and predrill straight through the brackets and the wall for your toggle bolts.

Step 6: Insert toggle bolt through hole in bracket and place toggle brace (facing back toward you) on the end and screw it on about 1/3 of the way.
Step 7: Once both toggles (on one bracket) are in place, slide them together in to the predrilled holes and screw in to place.
Step 8: Repeat this process, being sure to keep your brackets level with each other (I recommend using a 48" level here, but we improvised with a straight-ish piece of metal and a 12" level).

Step 9: Tape around your brackets and paint the wall. *This step can be avoided if you don't get so excited to put shelves up that you forget to paint the wall before getting started! =)

Step 10: Place your shelves on the brackets and marvel at the beauty of them!

Step 11: Marvel a little more....sooo pretty.

Step 12: Dig out the box of treasures you found in the attic when you moved in to your old farmhouse to display on your new shelves. Fun fun!

Step 13: Fill your shelves up!

Step 14: Celebrate a dream fulfilled.

No comments:
Post a Comment