Showing posts with label DIY In-Law Apartment. Show all posts

Thursday, May 25, 2017

DIY: The BIG LIVING ROOM REVEAL Building an In-law Apartment

 
Admittedly I don't have many "BEFORE" photos on this project - because it began as a garage.  A dark, spider-infested garage....not really picture worthy.  But, I do have some mid-process photos that will get the point across.

Enjoy!
 
BEFORE:
When it came time to start demo, we put the roll-up door/opener up on craigslist for free and someone came and dismantled the entire thing and hauled it away!  Good deal all around.
 
 
AFTER:
Yes, this is actually the same room!
 
We framed out the window and front door under the original header in the garage door opening to minimize the labor/cost.

BEFORE:

Now, this was after we tore through 60 years of siding, insulation, paneling, and wallpaper, but you get the idea. 
BTW: those cinderblocks were the actual "stairs" from the garage in to the house. Classy, right?
 
 
AFTER:
Goodbye cinderblock steps - hello, beautiful! 
 
  Mr. Steady custom built the shelving for my MIL's book collection and military collectibles.


BEFORE:
Please understand that photography is NOT Mr. Steady's strength, but as you can see, I had my hands full with our youngest (who is definitely a handful!). At any rate, I'm glad he at least got the shot of this angle...so you can truly appreciate this:
 
AFTER:
Although, we ran out of room in the kitchen area, my MIL's spice cupboard (custom built by Mr. Steady with the pieces of her father's hutch that was destroyed in the great moving truck catastrophe) found a home just outside the kitchen doorway.
 
We continued the kitchen flooring on to the bottom step and did carpet tiles in the living room - right on the concrete slab! We were on a very tight budget (like highschool jeans TIGHT). Carpet tiles were a bit of a gamble, but they have been great. They were SO EASY to install (even our Curious Cowgirl helped) and we just made it through a TN winter without complaint.
 

BEFORE:
This is also a mid-process shot. Working with a garage slab foundation, we faced some logistical issues.
AFTER:

 We turned that lemon in to lemonade by only building out the bottom half of the wall to match the foundation, and left an inset shelf for display -a great place to show off my In-laws' favorite memories.

 So....what do you think? Thoughts, comments, questions?  Send them our way!!
More reveal posts coming soon!
From our home to yours,
Katie

Check out more of the process here:

THE BIG KITCHEN REVEAL


Tuesday, April 11, 2017

DIY: The BIG KITCHEN REVEAL - Building an In-Law Apartment

 
I was pacing myself with posts of the building process, but there's always time to go back and fill those in. I'm ready to do a REVEAL (and a little showing off). I decided to start with the kitchen, since it was probably the most work. 
 It began as a creepy, carpeted mess from the 1980s.  
 
 
 BEFORE:
Well, this is what we had to work with: Mustard paint and mauve carpet. An outdated globe-less ceiling fan mounted to cardboard ceiling tiles (no joke!) was really a special focal point, but not to be outdone by the tiny, off center (non-operational) window.
 
AFTER:
I know, right?
 
BEFORE:
The room lead in to a room (which lead in to another room) with no hallway. A temperamental pocket door from the 1960s parted the two - sometimes.

We built a pantry in to the back of the kitchen wall and created a "hallway" to allow for the bedroom (straight ahead) and bathroom (to the right beyond the fridge) doors.

BEFORE:
An awkward exterior door leading straight from the bedroom to the garage was not only unsafe (as the steps were just stacked cinderblocks), but really kinda' bizarre.
 
AFTER:
We opened up the doorway and created (safe) steps down in to the former garage (new living room). Please excuse the cardboard dishwasher - we were still waiting for the arrival of the last appliance when this picture was taken.
 
BEFORE:
This tiny "walk-in" closet with linoleum flooring and a collapsing ceiling was to the left of the garage door and hardly in working condition.
 
AFTER:
We turned the closet in to a laundry nook, intending on hiding the appliances behind a retractable curtain. But, my mother-in-law is so proud of her shiny new washer & dryer, she likes them on display. The dryer is elevated on a platform containing the ducting for the air intake vent - a carefully designed layout accommodation.
Ps. The blue pin-up board on the left is covering the PEX Manifold access box. Notice the recessed valve boxes in the back.
 
BEFORE:
 
To be fair, this picture was taken after a bit of demo was underway. But, you get the idea.
 
 
AFTER:
We made an opening on the back wall which really opened up the room. Using the placement of the original window, we created a practical kitchen layout (with the help of our trusty Sweet Home program) with room for storage, prep space, and appliances. And we painted the cupboards my MIL's favorite blue to match her china.
 
Here are a few more angles of the new kitchen:

From the kitchen window: bathroom door on the left, perfectly built refrigerator nook in the center, and new laundry station on the right.

 We decided against building a custom pantry when we started running out of time. We bit the bullet and purchased a System Build pantry. It was over our budget, but for sanity's sake it was a cinch to  assemble and slid right in to place. Made me think of my Grandfather's favorite saying: "Pound it in and paint it to match".

 Still haven't found an appropriate way to hide the ugly control panel door - any ideas/suggestions? 

 Recessed lighting and neutral paint really brightens everything up, even with the dark cabinet color.


 Here is a look at the staircase Mr. Steady built that steps up in to the new kitchen. What an improvement! We were getting some killer calves and quads from climbing those cinderblock steps, but we were glad to see them go.

Well, that was the BIG KITCHEN REVEAL. We are so proud to know my in-laws are living in such a beautiful (safe, updated, comfortable) space - that we built with our own two hands. That kind of confidence is priceless.

So....what do you think? Thoughts, comments, questions?  Send them our way!!
More reveal posts coming soon!
From our home to yours,
Katie


This post contains affiliate links.
To learn more, please click here.


DIY: A Product Review: Pex Plumbing Manifold - Building the In-Law Apartment


Some people have a finer appreciation for sculpture, impressionist paintings, theatrical works, literary masterpieces, and the like. They honor the writer, the painter, the musician, the potter, the poet for their creativity, courage, cleverness, or originality.
My husband enjoys a good song, sonnet, or sculpture with the best of them, but he doesn't subscribe to any overzealous adoration of any particular work of art....

Except this:


He is mesmerized by the beauty in a PEX schematic. If he could meet the guy/gal who installed this PEX manifold and shake his/her hand, I'm pretty sure he would swoon like a school girl.  And, in a way, I can see it. There really is beauty in order.

*photos sourced from pex-manifold.com
 
It's visually impressive.  But, what's the point? (that's what I said to him when he started his big "I think we need to do THIS PEX MANIFOLD for the apartment" speech).  He explained that the manifold was essentially an electrical panel - for plumbing. Giving each water source it's own valve would allow us to isolate leaks, pressure issues, and resolve any problems down the road without compromising the entire house's water supply. 
 
Okay, that sounds good, but is it necessary?
 
When you have a 3,000 square foot house that you are converting in to 2 homes, while 2 families are currently living in it - YES. THAT IS NECESSARY.  Why do I feel it is NECESSARY? 
Well, in case you missed our kitchen renovation adventure, we spent the first week in our new home with NO RUNNING WATER. And then several days with NO HOT WATER while our kitchen was being torn up and rebuilt.   So.....the idea of being able to isolate plumbing projects during construction without sacrificing the comfort of everyone involved is, in my humble opinion, NECESSARY!
Enter....the PEX manifold:


For a DIY project it's really ideal. No PVC glue. No elbows, Ts, or brittle piping. No soldering copper fittings.  Just a crimping tool and the valves.   We purchased the recessed boxes for the valves so that the appliances could sit flush against the wall. Everything hooked together very simply.  Even Our Curious Cowgirl and Our Sweet Songbird got to help:


No, really.
While Mr. Steady crawled under the house feeding red and blue tubing up through all of the pre-drilled holes, C.C. ran around fishing them out and pulling them to meet the box locations.


As far as project materials, it was a lot simpler than your typical pvc spread. The PEX tubing is flexible (within reason), so unless you have extreme turns (and have to use these), you can just snake it over, under, around, and through whatever obstacles you face - a big improvement from the angular process of cutting/gluing pvc or cutting/soldering copper at every turn. It also helps with water pressure because there are no breaks in the line.
 
Keep in mind, Mr. Steady is not a plumber. He had worked with PEX once before on a small DIY project back in Houston, but was otherwise inexperienced. But, in true Mr. Steady fashion, he researched, read, drooled over schematic pictures, measured and remeasured the layout on Sweet Home, and "learned the ropes" in theory for weeks before we started. And when it came time, he placed an order for the following items:


One of these

 
A few bags of these
 
An assortment of these


Also, new pipe cutters, extra fittings, braces and a few more particulars for our project.  I think we were all in for around $500.  Since Mr. Steady did all the labor himself, it was a heck of a deal. The PVC drain/waste lines seemed to cost a fortune by comparison.  I was very impressed with how efficiently the whole thing came together.
 
 And, the final product was a work of art all its own:
 

I mean, its no Rembrandt, but it's still a thing of beauty to us.


And after a day spent slithering under the house running tubing, Mr. Steady was glad to be able to finally resurface and get a look at his masterpiece.

 
A proud DIY moment for all.
 

Have you tried a PEX manifold? 
We'd love to hear your questions, thoughts, and comments!
 
From our home to yours,
Katie

*This post contains affiliate links. To learn more, please click here.

DIY: Converting the Garage - Building an In-Law Apartment From Scratch

 
 Up until this point, most of the work had been carried out without disturbing the garage area. We were still storing some things there that we hadn't moved/sold yet, namely a gigantic china hutch we called "The Beast" that wouldn't fit through any other doorway.  We tried our best to work around it.


We brought materials and tools through the garage door and locked it securely at night.  But, there came a day when we knew it was now or never. We had sold "The Beast", the weather was right, and someone was on their way to remove and retrieve the garage door/opener. 
 
 
We quickly framed a wall, using a powder-actuated nail gun to secure it to the concrete slab. 
This was a defining moment because this was the location for the new front door - the official entry to the new apartment. But, first we had to seal it.


Rather than buying "house wrap" as a weather insulator, we were offered a large panel of "wood wrap" (an almost identical material the lumber yards use to protect the lumber during transportation) for free. Sold!
 
The window and doorway were trimmed out and secured with flashing tape. That stuff doesn't joke around! It is STICKY!


Then, we installed the window in place - and just for fun, opened it and had a little chat from either side to get a feel for it. So great!

 
And then....the door. A front door! This was the big moment! It was officially a home. Not just a wing on the side of a home. But, it's very own home.

 
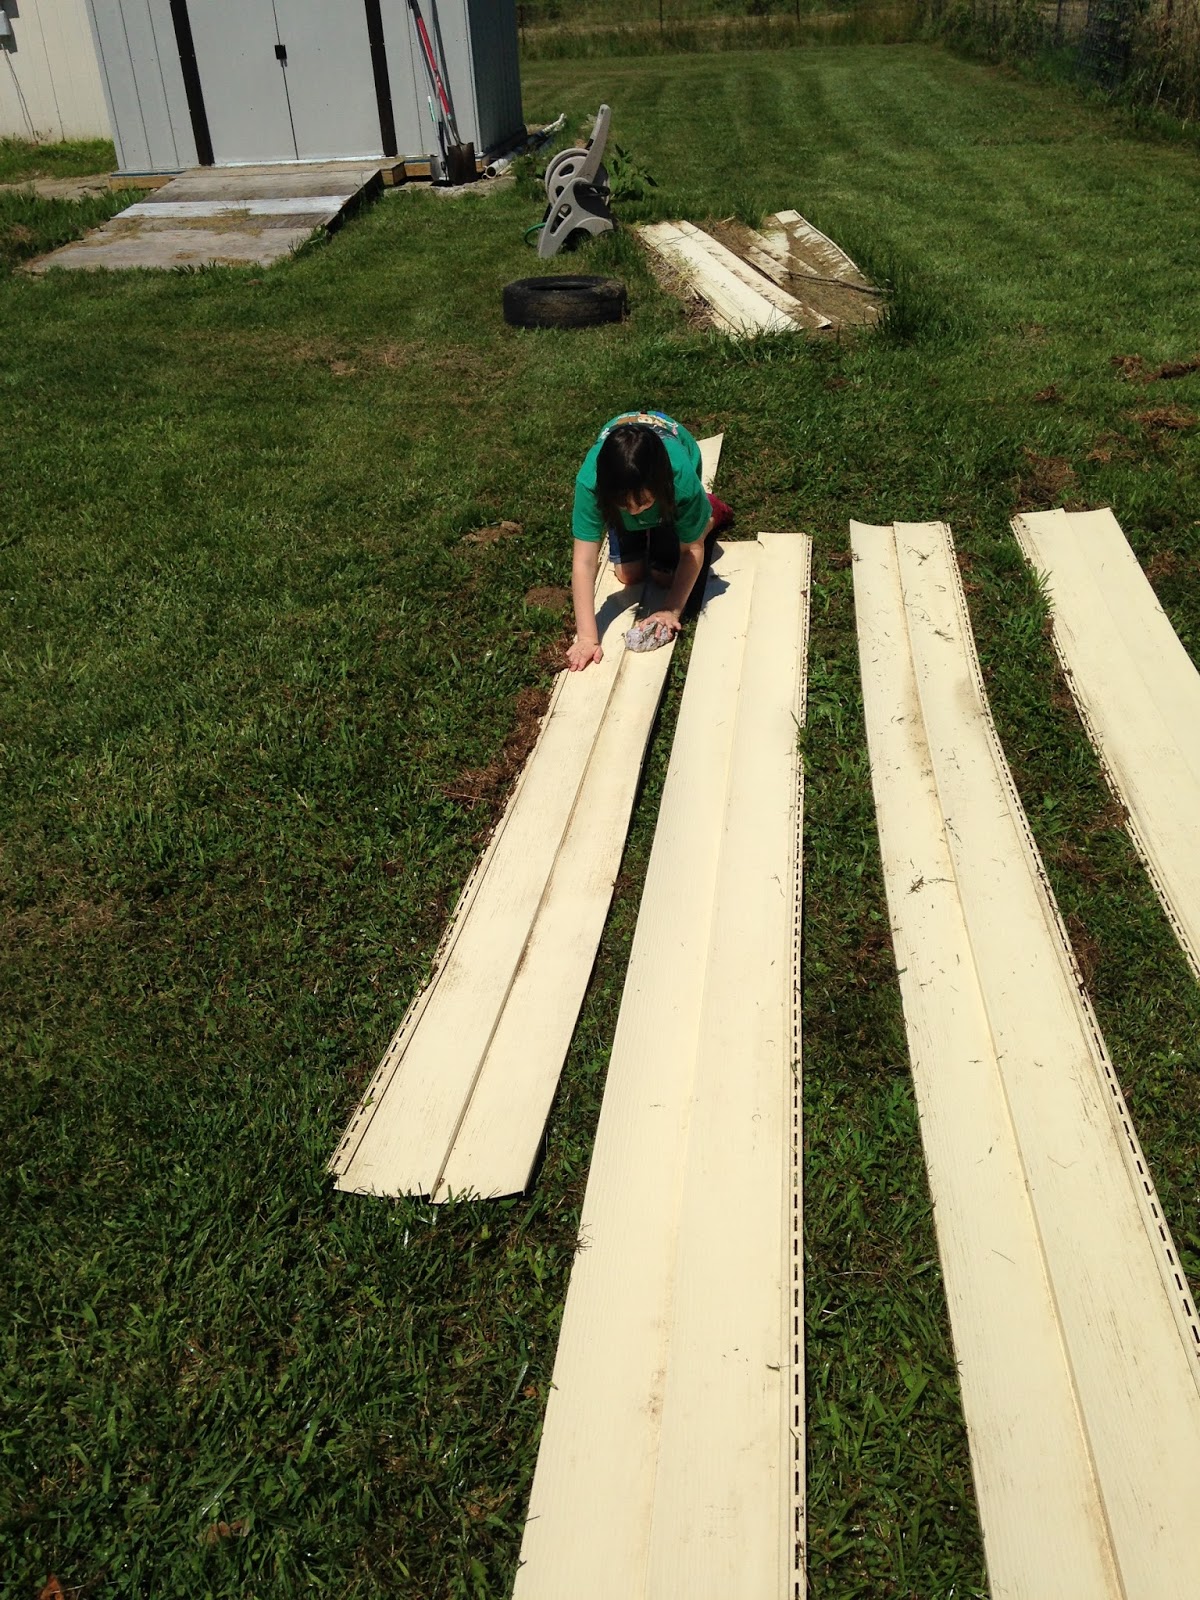
Not too pretty yet, but still very official. We had some extra pieces of siding that were behind the shed when we first moved in. We set the dingy old pieces out on the lawn and set our Curious Cowgirl to work with a bucket of soapy water.


Meanwhile, Mr. Steady trimmed the door out - wow! Starting to come together...

 
And the last of the siding is in place....

 
Ta-da! All in a day's work!
Neighbors who have driven past this house for decades were blown away to cruise by and see this. Didn't that used to be a garage door? Am I losing my mind?

 
I just LOVE a good before and after!


We'd love to hear your questions, thoughts, and comments!
 
From our home to yours,
Katie
 
 
This post contains affiliate links. To learn more, please click here.