Admittedly I don't have many "BEFORE" photos on this project - because it began as a garage. A dark, spider-infested garage....not really picture worthy. But, I do have some mid-process photos that will get the point across.
Enjoy!
BEFORE:

When it came time to start demo, we put the roll-up door/opener up on craigslist for free and someone came and dismantled the entire thing and hauled it away! Good deal all around.
AFTER:

Yes, this is actually the same room!

We framed out the window and front door under the original header in the garage door opening to minimize the labor/cost.
BEFORE:

Now, this was after we tore through 60 years of siding, insulation, paneling, and wallpaper, but you get the idea.
BTW: those cinderblocks were the actual "stairs" from the garage in to the house. Classy, right?
AFTER:

Goodbye cinderblock steps - hello, beautiful!

BEFORE:

Please understand that photography is NOT Mr. Steady's strength, but as you can see, I had my hands full with our youngest (who is definitely a handful!). At any rate, I'm glad he at least got the shot of this angle...so you can truly appreciate this:
AFTER:

Although, we ran out of room in the kitchen area, my MIL's spice cupboard (custom built by Mr. Steady with the pieces of her father's hutch that was destroyed in the great moving truck catastrophe) found a home just outside the kitchen doorway.

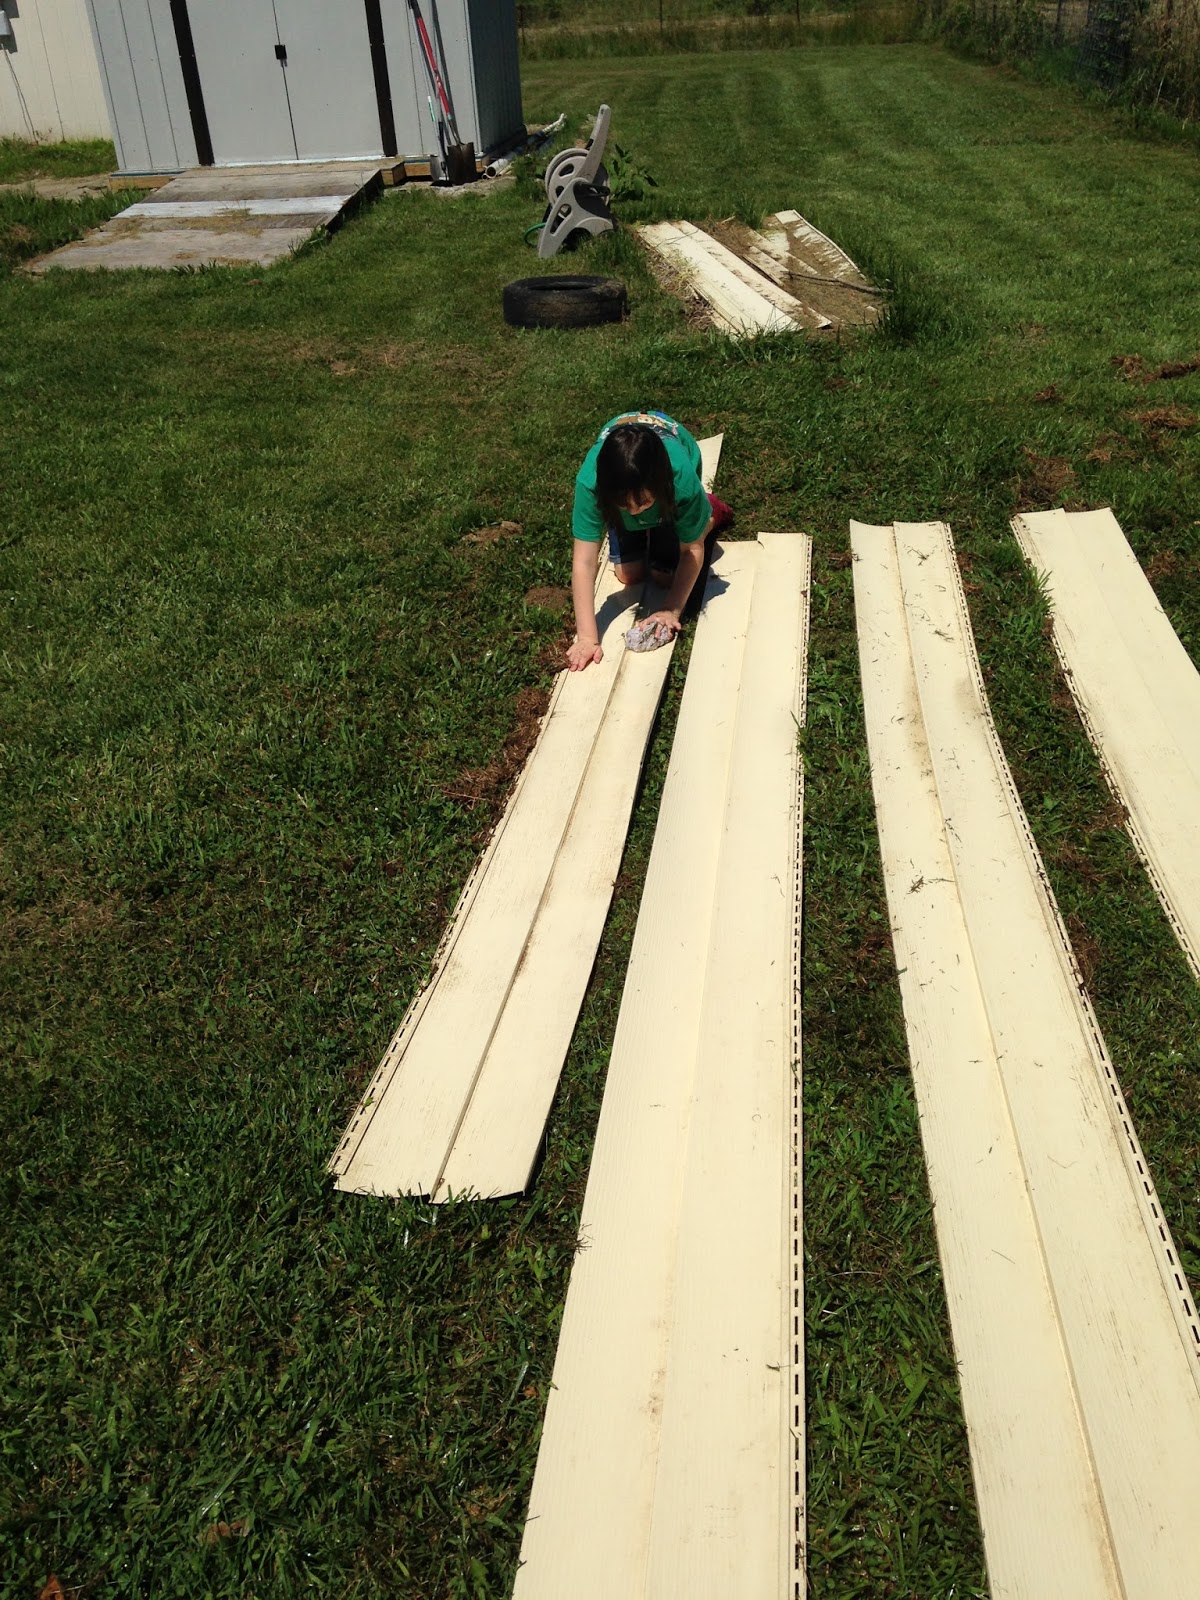
We continued the kitchen flooring on to the bottom step and did carpet tiles in the living room - right on the concrete slab! We were on a very tight budget (like highschool jeans TIGHT). Carpet tiles were a bit of a gamble, but they have been great. They were SO EASY to install (even our Curious Cowgirl helped) and we just made it through a TN winter without complaint.
BEFORE:

This is also a mid-process shot. Working with a garage slab foundation, we faced some logistical issues.
AFTER:
 We turned that lemon in to lemonade by only building out the bottom half of the wall to match the foundation, and left an inset shelf for display -a great place to show off my In-laws' favorite memories.
So....what do you think? Thoughts, comments, questions? Send them our way!!
More reveal posts coming soon!
From our home to yours,
Katie
Check out more of the process here:
THE BIG KITCHEN REVEAL